


Polishing Pixels: How to Remove Dust and Scratches from Jewellery Photos
Discover expert techniques for polishing pixels and removing dust and scratches from your jewellery photos. Enhance your images for stunning visual appeal.
When looking through online shopping platforms or catalogues, have you seen the wonderful jewellery images? Well, this is because an image speaks a thousand words, and it is even more true for the world of the jewellery business. However, even the most expensive camera cannot click perfect pictures, as imperfections and flaws can appear naturally in the image, and this is why it is every important to edit these pictures to remove dust and scratches.
If there are dust and scratches on the image, the product image can lose its shine and sparkle, and this is why it is important to know how to Remove Dust and Scratches on Jewelry photos. The following article is a practical reference for digitally tidying up and enhancing your jewellery photographs.
-
Use High-Resolution Images
Before you start any complicated editing process, you need to choose a high-resolution image. The more detail present in the picture, the less you will have to depend on artificial tools and techniques to perfect it. Shoot in RAW format for more editing control, using a macro lens if at all practical.
-
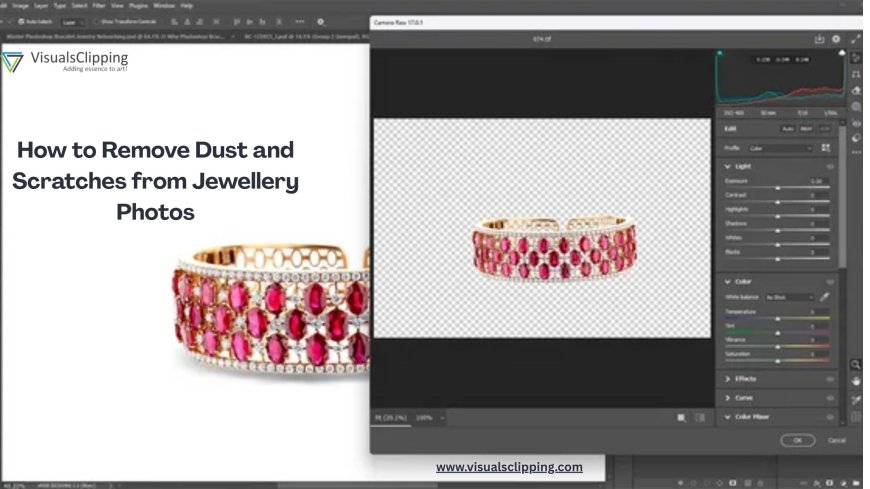
Zoom in and look for imperfections
After clicking the image, open it with photo-editing tools like GIMP, Lightroom, or Adobe Photoshop. Zoom in to 100% or above to see microscopic dust particles, micro-scratches, or lint that could not be visible at their normal size.
-
Use the Healing Brush or Spot Healing Tool
The majority of the editing services are equipped with a healing brush or spot healing tool, and these tools allow you to remove any dust or scratches that you have found in the image. The chosen region is automatically merged with the surrounding pixels.
-
Use the Clone Stamp Tool for Larger Areas
If the surface is too large for the healing brush to work its magic, you can use the Clone Stamp Tool. The tool removes the imperfections from the affected area and copies pixels from other parts of the image to fix the image. For perfect integration of pixels in the image, you can also mix the surrounding areas.
-
Frequency Separation for Advanced Editing
For experts and professional editors, frequency separation distinguishes texture from colour/tone, allowing for complete alteration without sacrificing the surface's sheen or the metal's texture. Editing high-end jewellery is ideal with this approach.
-
Final Polish: Sharpen and Adjust
After editing and removing all imperfections and flaws from the image, you can work on other aspects like adjusting the brightness, contrast, and clarity of the image. Emphasise the edges of gems and the reflections of metal with sharpening.
Paying close attention to the details and employing the correct tools can help you restore the brilliance and show off your pieces at their best in photos.
Source: Visualsclipping